

These felted Easter Eggs are very straight forward to make. They are a great first project for anyone interested in trying the technique of wet felting. Felted eggs are a good project for young children. Children as young as two or three years old can make these eggs and the finished project will be beautiful. I like to knit little chicks to hide in the eggs. If you don’t knit you could also make a chick out of felt or fill the egg with a little treat.
Materials:
Plastic Easter eggs
Wool Roving (in white and a few colour choices)
Water
Liquid Dish Soap
Towel
Wet Felted Easter Egg Instructions:
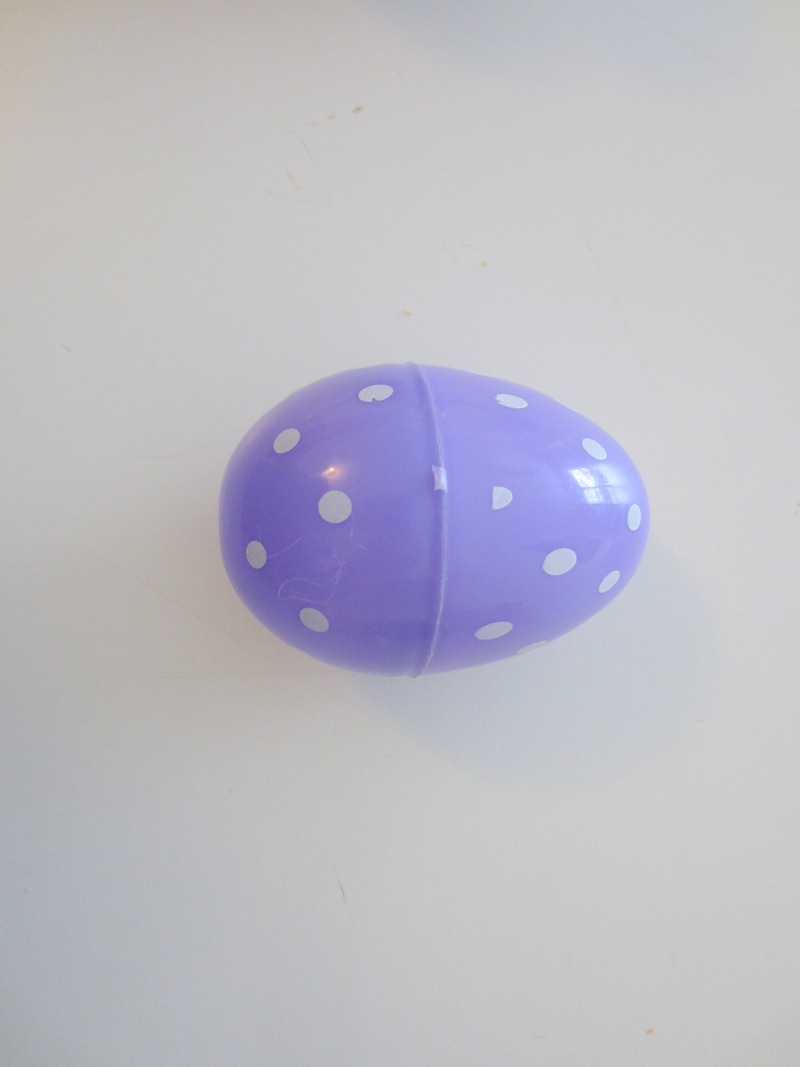
Choose a plastic egg a little smaller than what you want the finished project to be. You will be felting a wool egg around the plastic one and then cutting it out to have a hollow center.
Wrap white wool roving around your plastic egg as tightly as you can manage. The plastic egg is slippery so just do your best. The most effective way to do it is to pull off small sections of wool and wrap in layers.
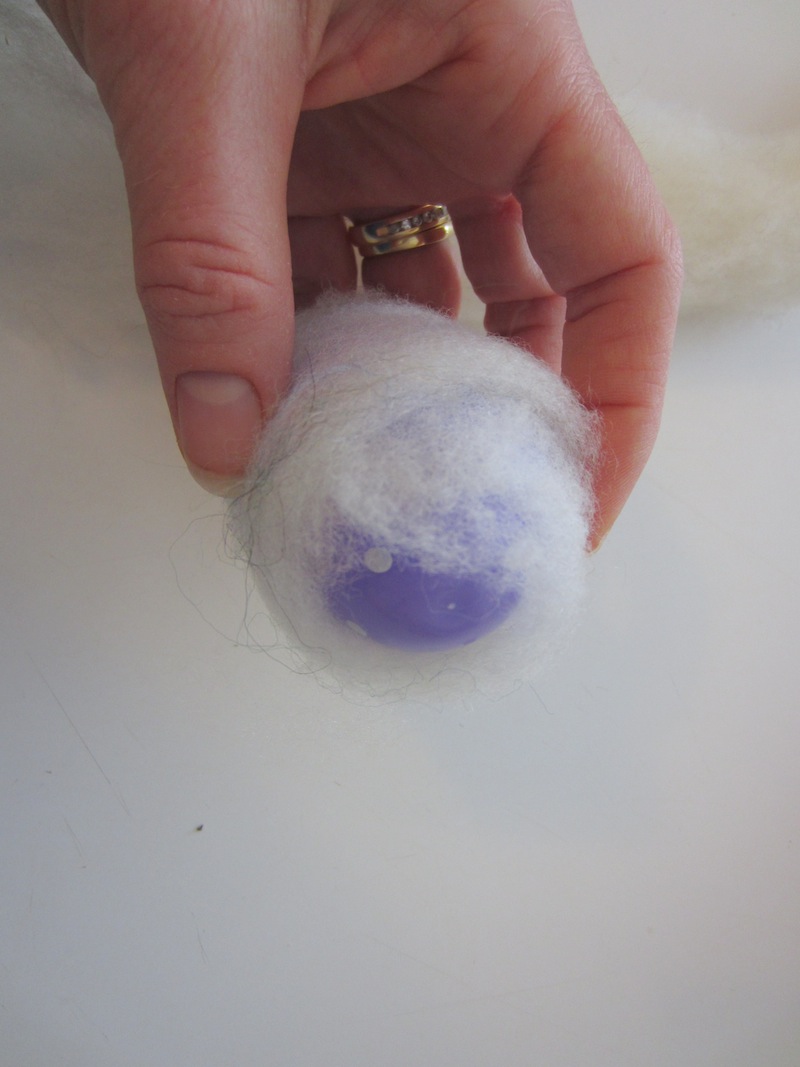
The wool layers will stick together. Keep wrapping in different directions until the plastic Easter egg is covered.
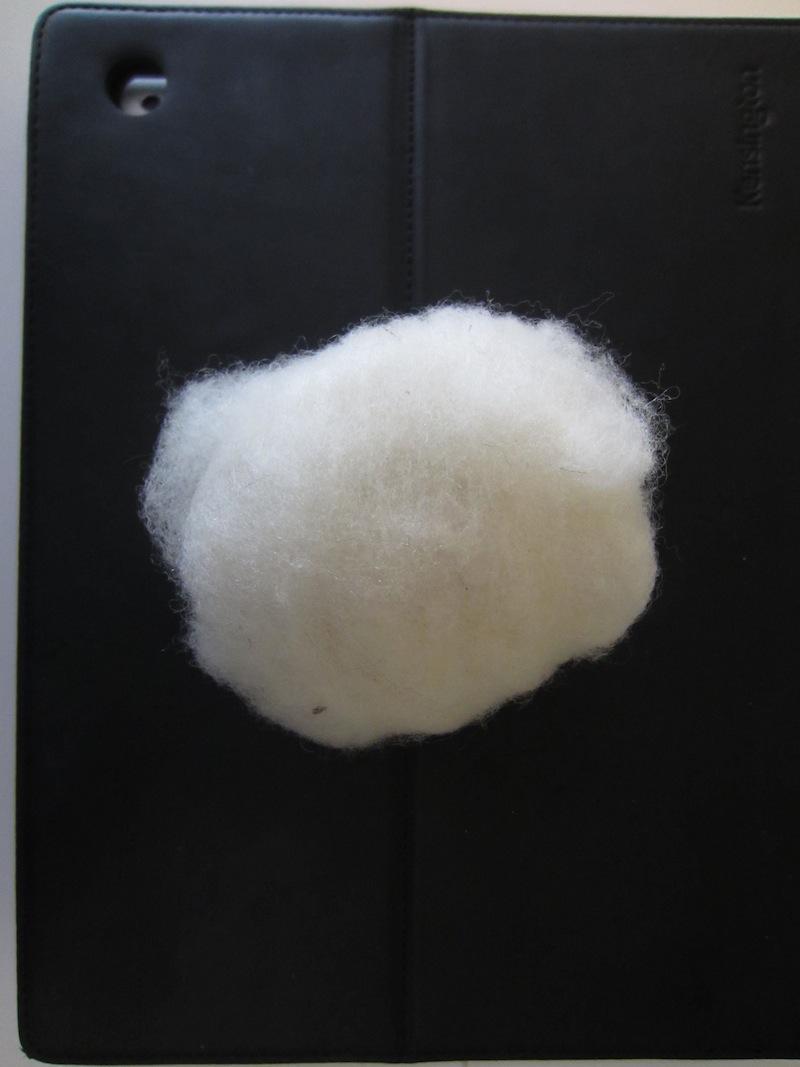
The more layers you add the thicker your egg will be. My wool puffed out about an inch and a half from the plastic egg. I added six layers of white wool. It also depends on how thick each layer is. My layers were thin enough you could easily see through the wool roving. Working with wool roving is not an exact science. Wool is very forgiving; add layers until you feel you are done; trust your artistic side :).
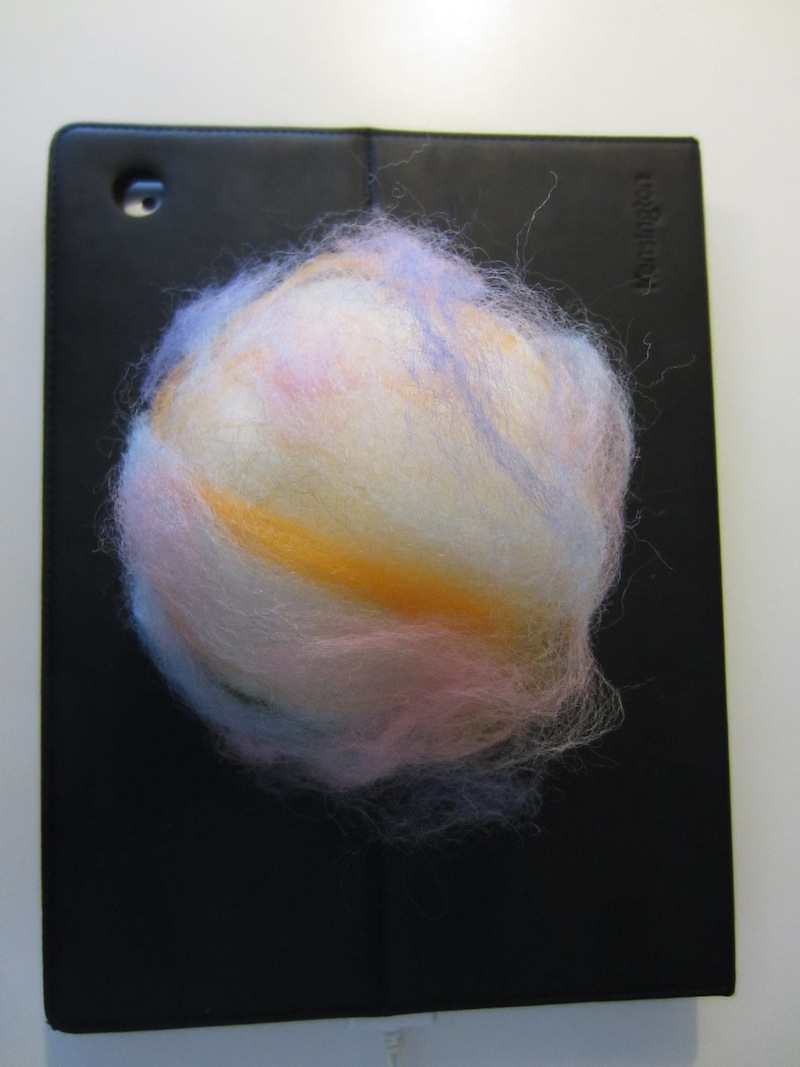
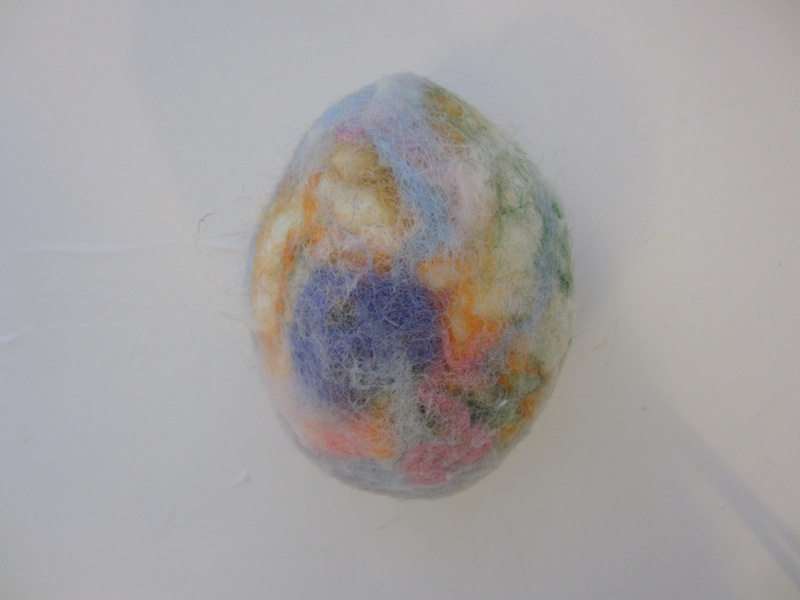
Choose some colours and wrap thin strands of coloured wool around your egg shape. Try your best to wrap tightly but as you can see in the photo the egg is getting very puffy by now.

Dunk your egg in hot water (I hold mine under the tap) until the whole thing is saturated. The water should be as hot as you can stand it. Then add a squirt of liquid dish soap to your egg and GENTLY work the wool into a lather. The wool is very delicate in the first few minutes and can easily bunch up or slip off the plastic egg. Gently squeeze, massage, squish and pat the wool until you see bubbles forming on the egg.
Keep working the wool for 12 minutes or until the wool binds to itself into a firm egg shape. You can re-dunk the egg in hot water and add another squirt of soap during this process.
You will feel the fluffy wool change into a thicker, denser wool. The little fly-away ends of wool will bind and become stuck to the egg shape. This is how you will know the egg is done. Rinse the soap out of the egg until the water runs clean.
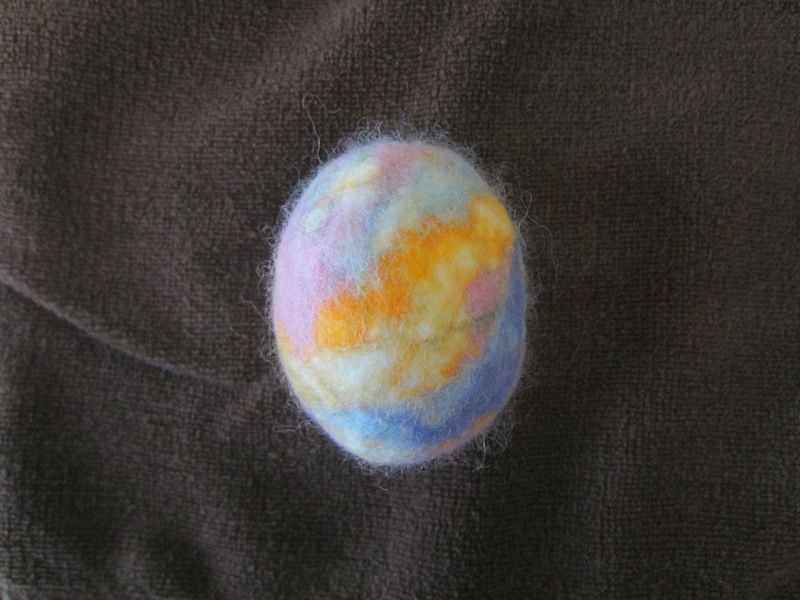
Wrap the egg in a towel and pat out the excess water. I let mine sit on a towel for several hours or even overnight until the wool is completely dry. Some people like to throw their wet felted projects into the dryer if they are pressed for time.
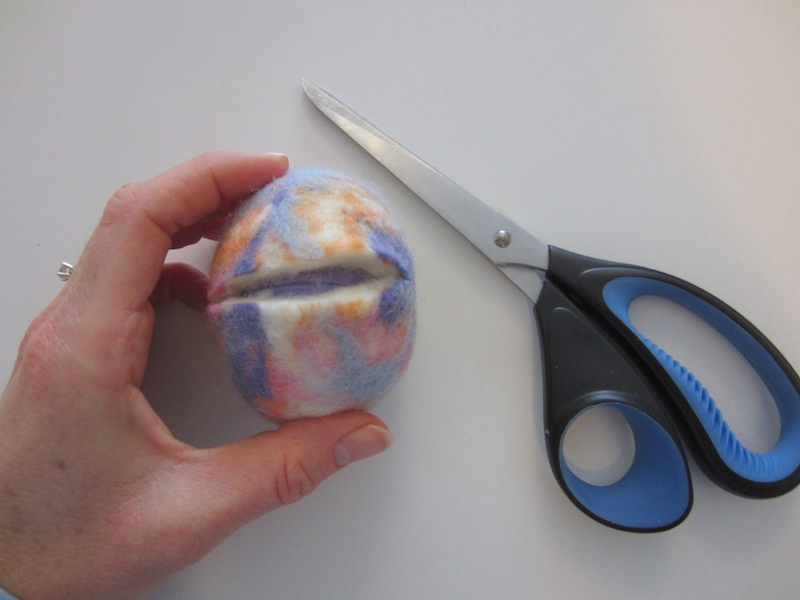
Once your egg is dry to the touch, cut open a slit in the middle of the egg. Push out the plastic egg.

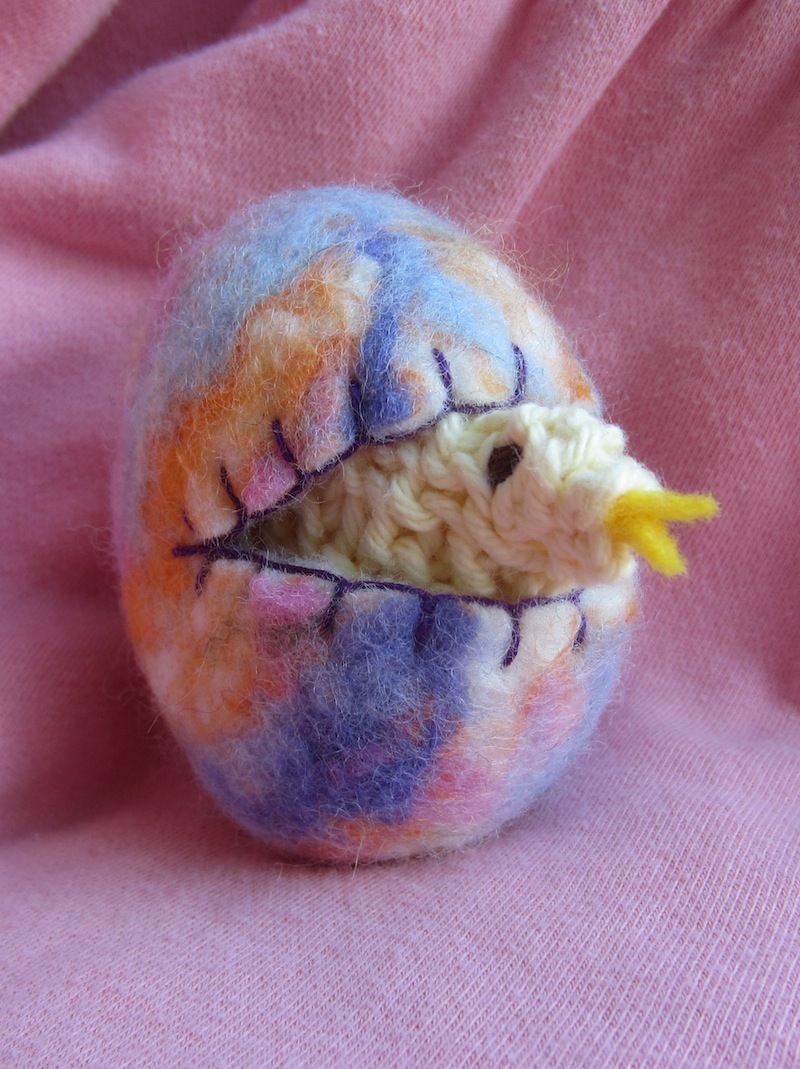
The Waldorf teacher who taught me this technique always finished her eggs by sewinga blanket stitch around the opening so that is how I do mine. You can leave the opening or use embroidery thread to close off the rough edge. I explain how to sew a blanket stitch in this post, Felt Heart Necklace. Now you are ready to either fill your Easter egg with treats or make a little chick! You can knit a chick or make one out of a felt square.
Knitted (or Felt) Easter Chick Instructions:
These instructions are a variation of a knitted chick from the book, All Year Round (Lifeways) by Ann Druit.
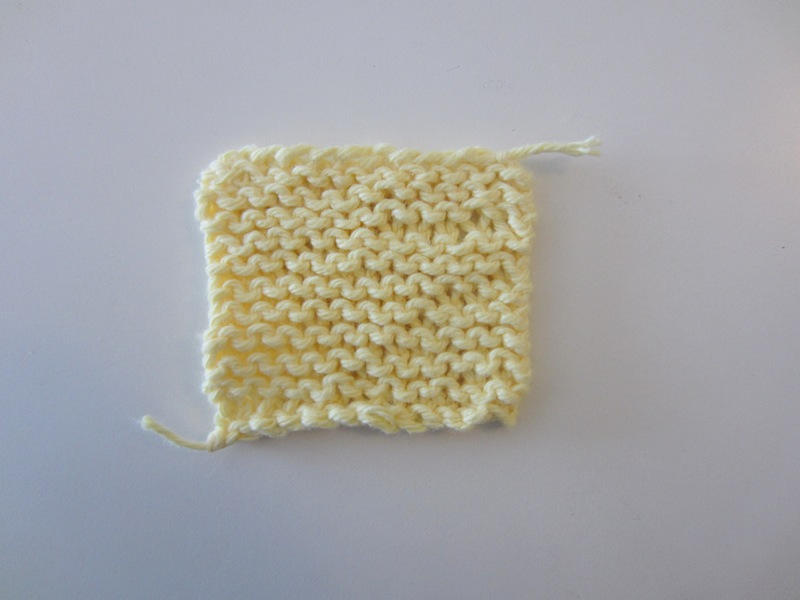
Cast on 12 stitches. Knit 12 rows. Cast off. You can alter the number of stitches and rows depending on how big you want your chick to be.
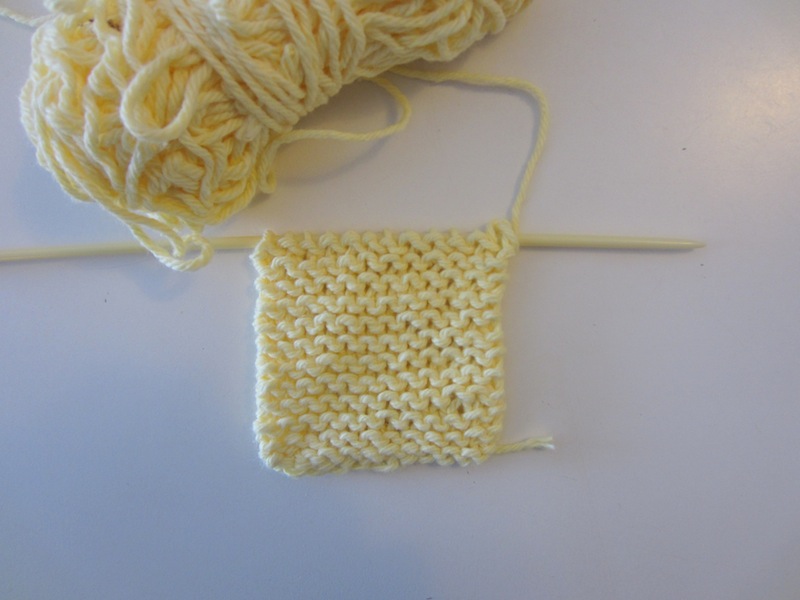
You will want to end up with a square. If you are using felt, cut a square about 10″ by 10″. This is a wonderful first project for a beginner knitter because even if there are mistakes in the rows they will be hidden in the egg. Only the head of the chick pokes out.
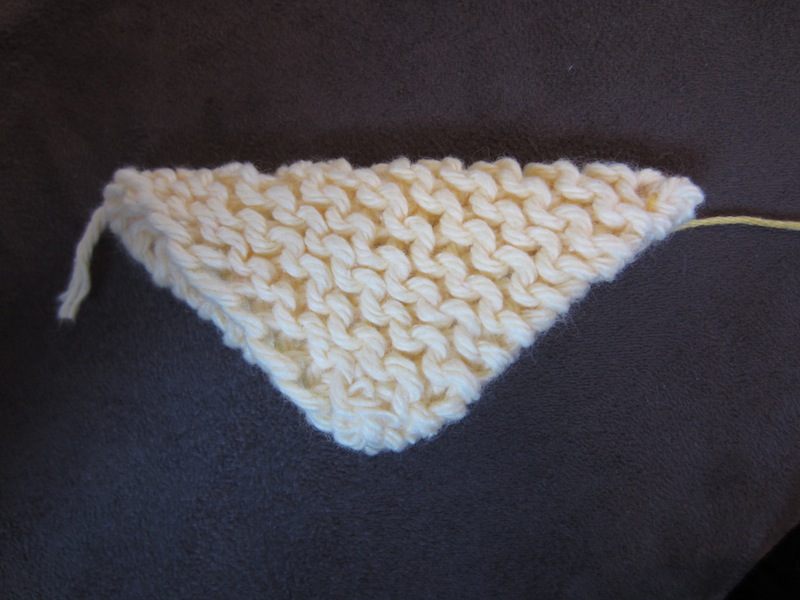
Fold your square of knitting or felt to make a triangle shape. This will be your chick’s body. Sew along the two bottom edges.
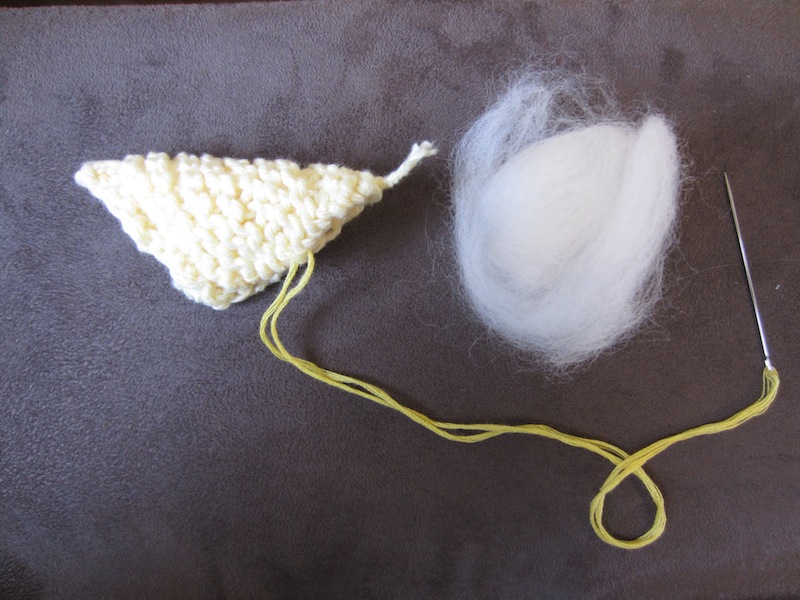
Remember to stuff your chick before sewing it closed.
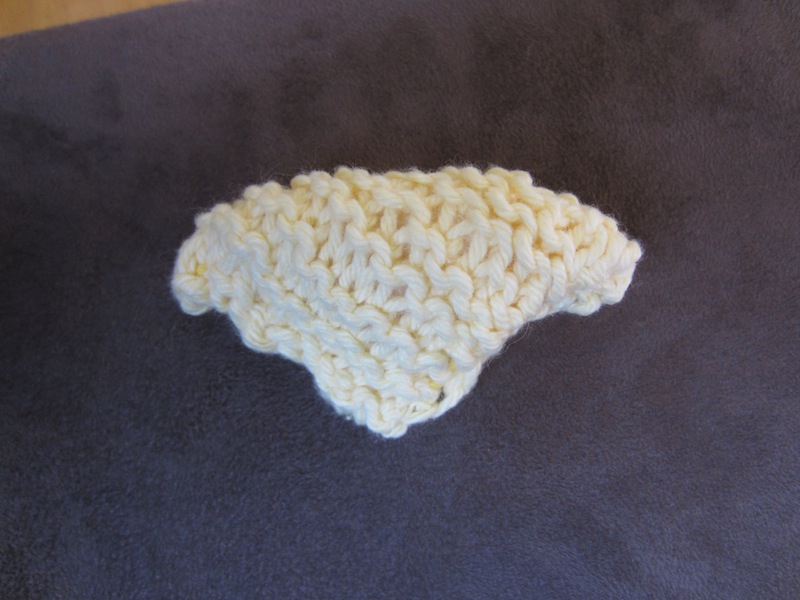
Just before I sewed my chick closed, I did an extra stitch through the inside of his body and pulled it taunt. This created a little shaping to his body.
I used some brown thread and satin stitched on some eyes. I cut out a little yellow felt beak and sewed it on.
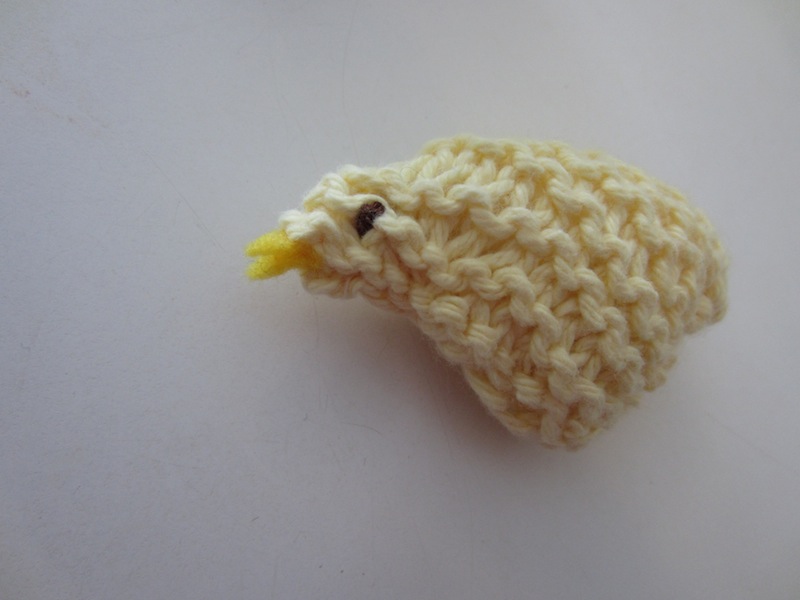
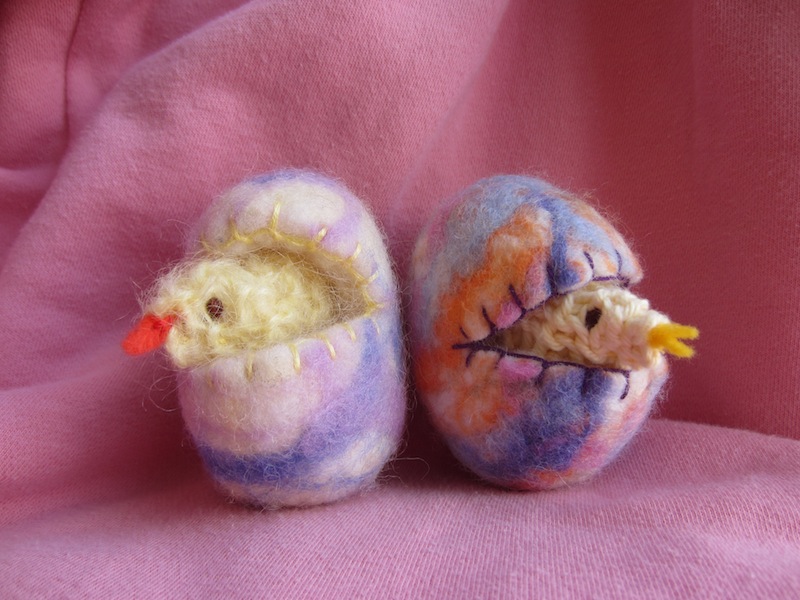
Here is my chick happily peeking out of his new home!
Have fun creating your own little Easter friends. Your children will be delighted to play with them.
 I’m a former elementary school teacher, and homeschool mother of two, who runs a Waldorf inspired home childcare/preschool.
  Sign up now for my newsletter to receive my free "Home Daycare Curriculum."
These are adorable! Thank you for sharing with us at Share It Saturday!
Have I actually found something that we’ll be able to successfully make with wool roving?! Thank you!! Darling! We are so looking forward to trying this. Glad you came to Waldorf Wednesday, too (:
These are adorable little eggs! Thanks for sharing at Mom’s Library!
Just wanted you to know I will be featuring these little cuties on Mom’s Library this week!
Thanks Ashley, I’m honoured.
I am going to pass this tutorial on to my mama.. she does a little bit of felting!
Thanks for sharing with us at Eco-Kids Tuesday! Hope you join us again today! http://likemamalikedaughter.blogspot.com/2013/03/flip-trainer-review-at-eco-kids-tuesday.html
I love these adorable eggs, and I’m including them in my Eco Kids Feature post tomorrow!