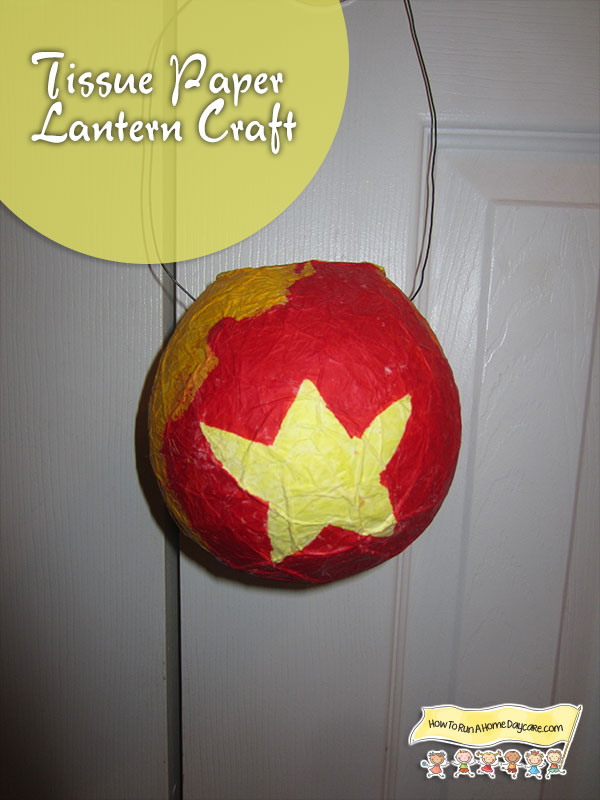
Making lanterns and then going on a lantern walk is a beautiful way to acknowledge the coming darkness in late Autumn. I tell the children a story about a gnome making a lantern to keep a spark of sunlight safe all winter long (see post “Easy Felt Gnome Tutorial“).
This story leads us into making our own lanterns. These lanterns are easy for young children to make. As we make the lanterns I teach the children the words to a few lantern songs. Early one evening (just after dusk) we plan a lantern walk with all the daycare children and parents. We light our lanterns and go for a walk around the neighbourhood singing the lantern songs. After our walk we come back to the house for hot chocolate and freshly baked muffins. It’s a nice way to come together and celebrate the season.
Lantern Craft:
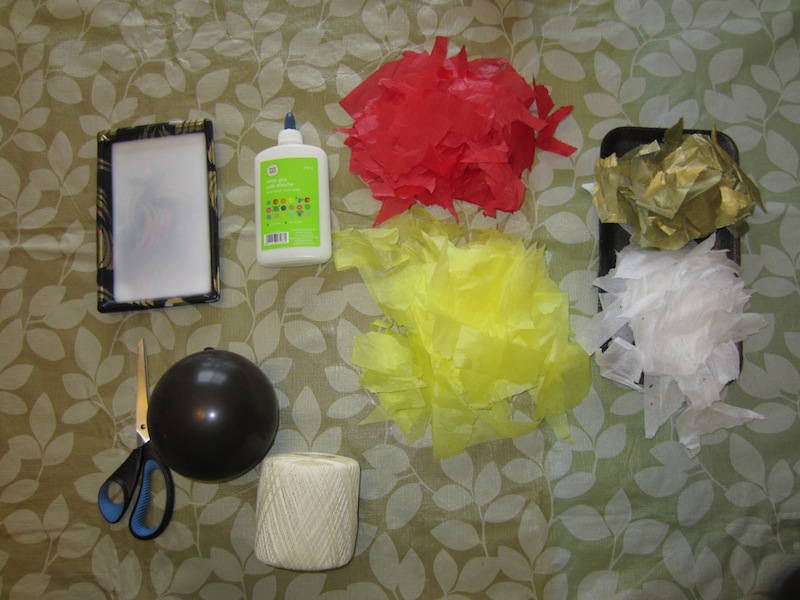
You will need:
White glue
A Balloon
Tissue Paper (a few colours)
String
Wire or yarn
Candle
Step One:
Mix up some white glue with tap water. The mix should be the consistency of milk.
Step Two:
Blow up a balloon. The size of the balloon will be the size of your lantern. Tie a string onto the balloon so you can hang it during the drying stage.
Step Three:
Tear up your tissue paper into strips or pieces. Soak a piece of tissue paper in the glue mixture and smooth it onto your balloon.
Step Four:
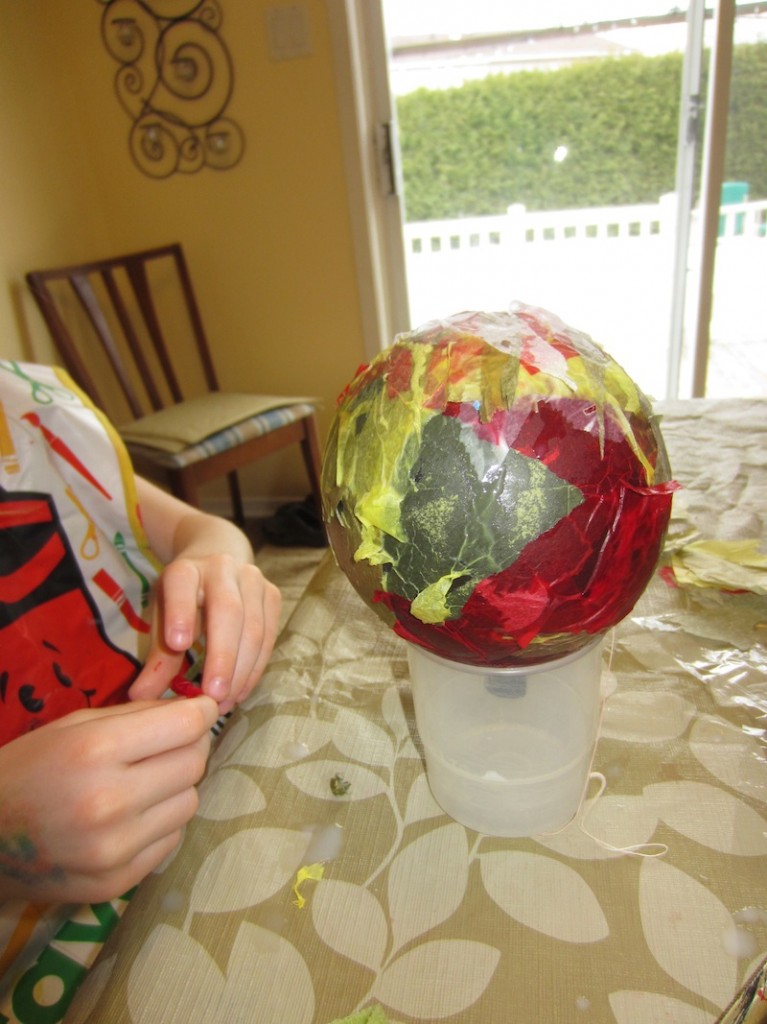
Continue to add wet tissue paper strips over the whole balloon. Leave an open spot around the top of the balloon. Add many layers, choosing different colours. Add extra layers on the bottom of the balloon. You will need the bottom to be strong enough to hold a candle.
We used black balloons which make it very easy to see the spots where the children needed to add more layers. Make sure the tissue paper is completely wet with the glue mixture.
Some of the children were having trouble keeping their balloons from rolling around so we sat the balloon in a cup to keep it steady.
Step Five:
Once the whole balloon is covered hang it to dry. Ours took a day to dry. Once it was dry we discovered some weak spots on two of the lanterns so we added more layers and left them to dry again. If you are interested in creating a design with the tissue paper this is a good time to add your colourful symbol or picture.
Step Six:
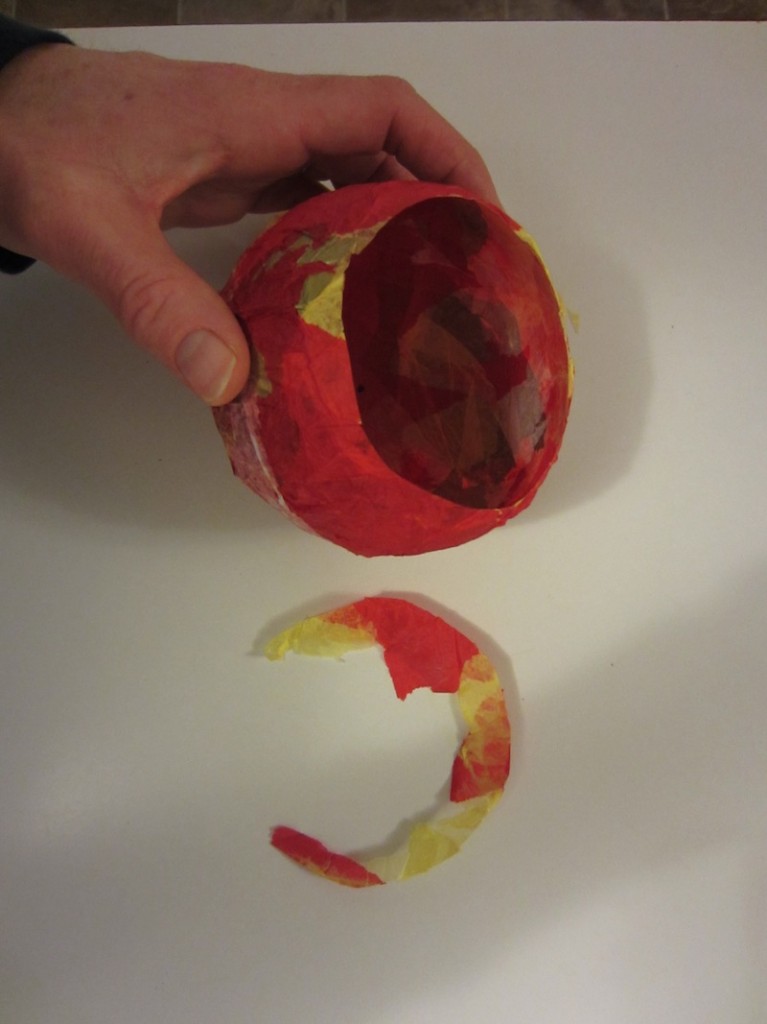
If your lantern feels dry and firm to the touch you are ready for the last step. Pop the balloon and remove it from your lantern.
Cut around the opening to create a nice even circle.
Step Seven:
Use a hole punch to punch two holes on either side of the lantern. Use wire or yarn to add a handle.
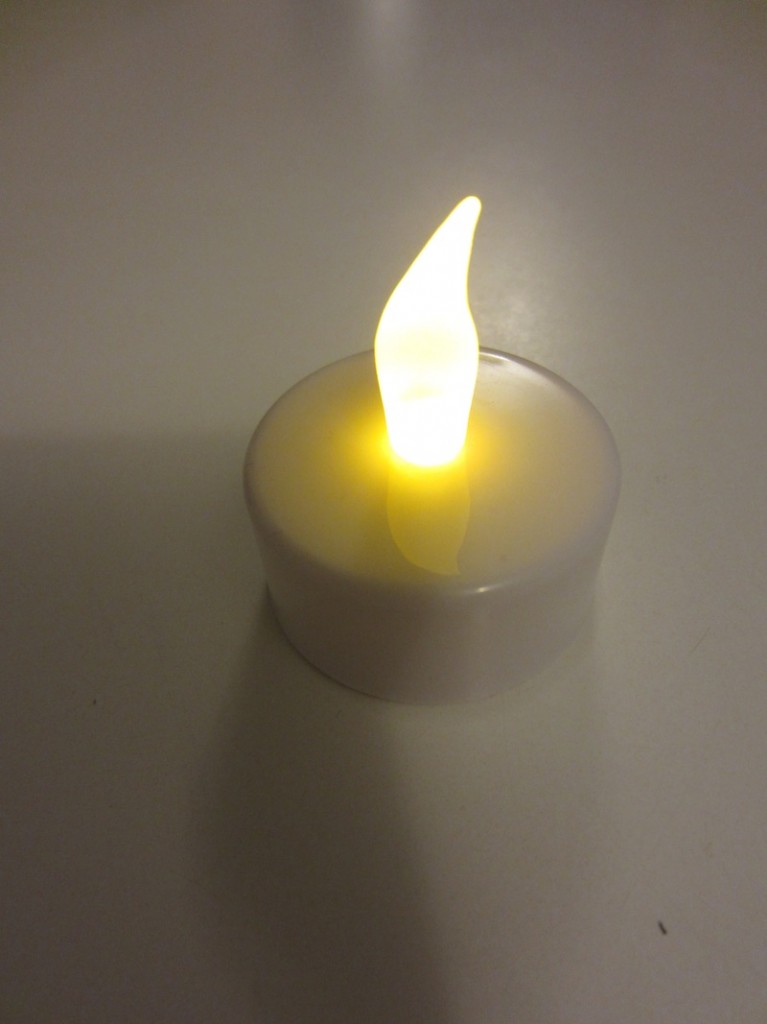
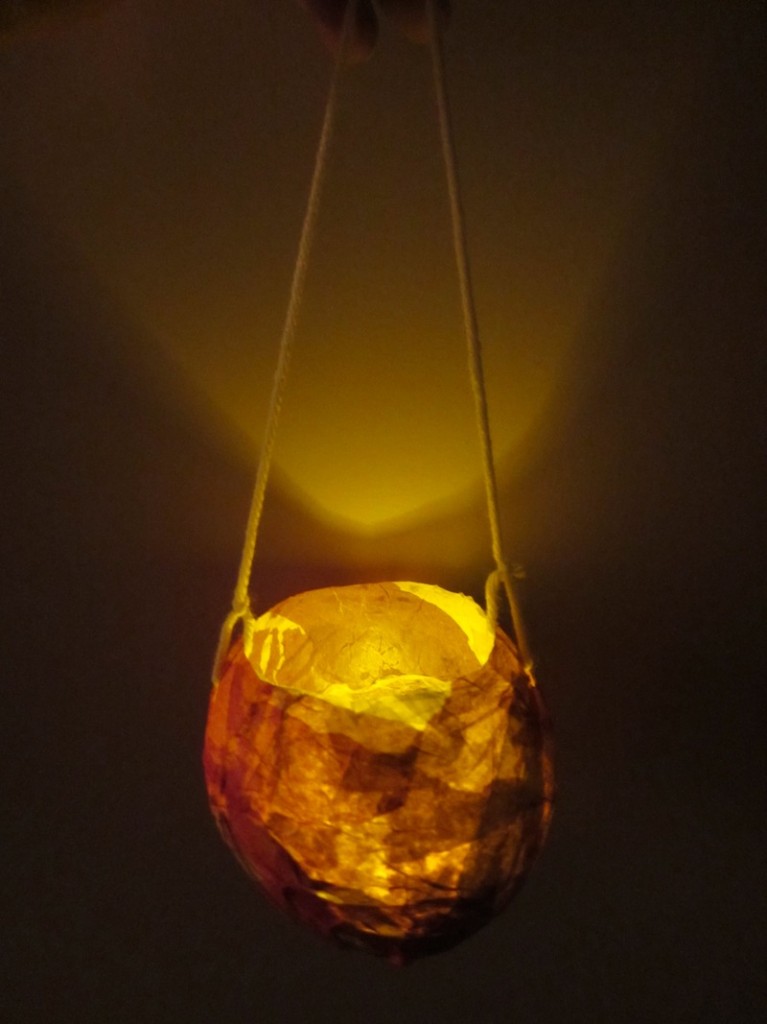
Add a tea light in the lantern and you are done. Since we have some young lantern makers here (two year olds) I bought fake tea light candles from our local dollar store. This will make our lantern walk safer for the small ones. Make sure to warn small children that these lanterns are delicate.
We turned out the lights and practiced our songs for our lantern walk.
Lantern Songs:
My Lamp
The sunlight fast is dwindling,
My little lamp needs kindling,
Its beam shines far in the darkest night,
Dear lantern, guard me with your light.
I Go with my Little Lantern
I go outside with my lantern, my lantern goes with me.
Above the stars are shining bright, down here on Earth shine we.
The cock does crow, the cat meows, la bimmel, la bammel, la boom.
‘Neath heaven’s dome till we go home, la bimmel, la bammel, la boom.
I go outside with my lantern, my lantern goes with me.
Above the stars are shining bright, down here on Earth shine we.
So shine your light through the still dark night, la bimmel, la bammel, la boom.
‘Neath heaven’s dome till we go home, la bimmel, la bammel, la boom.
Enjoy the cool night air, the sweet melody of the children’s voices and the magical light that shines from your lantern.








 I’m a former elementary school teacher, and homeschool mother of two, who runs a Waldorf inspired home childcare/preschool.
  Sign up now for my newsletter to receive my free "Home Daycare Curriculum."
This is the second time I’ve been to your site. Thanks for explaining more details.